Production Audio Checklist for a Small Studio
Small rooms can add reflections, ventilation noise, equipment noise, and outside sound to a take. Run a practical test of the room, microphone, and monitoring setup before recording.
At Viva Studio Rentals, bring the audio crew and equipment the shoot requires, then test the planned microphones at the intended set positions before booking.
Test the Room
Listen for reflections from walls, floors, ceilings, and set pieces with the planned microphone in position.
Document a short test and review it on headphones before the final setup is approved.
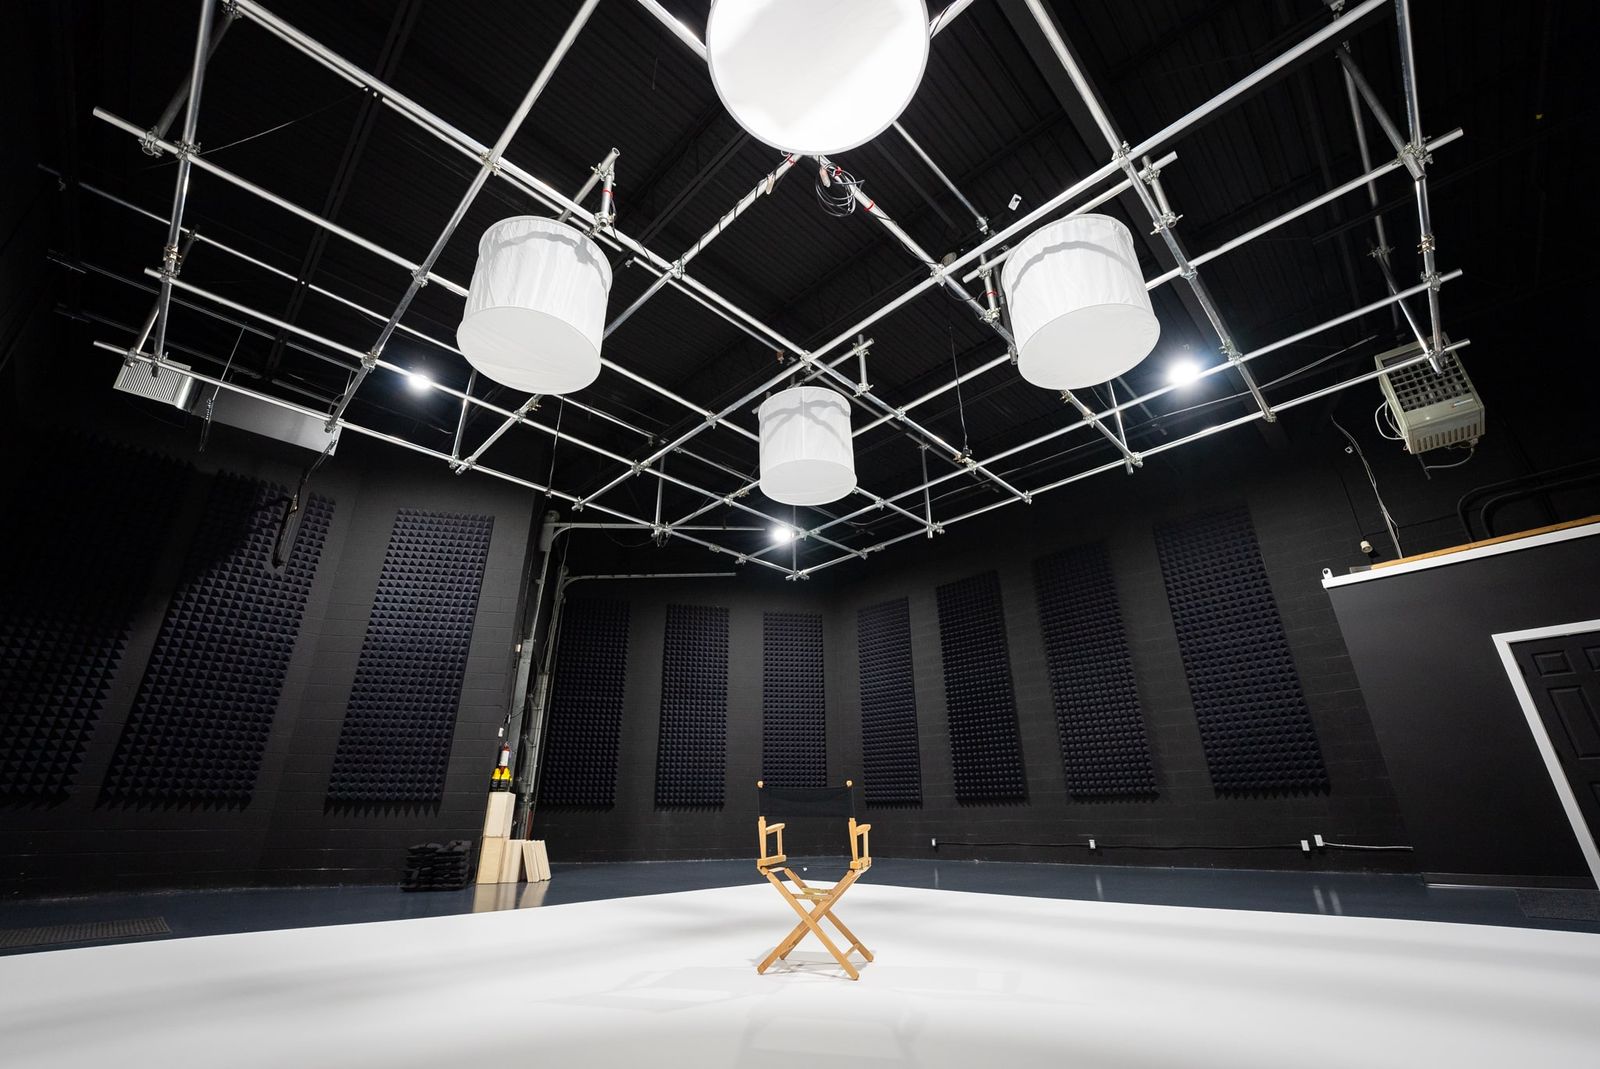
Acoustic treatment manages reflections inside a room. Sound isolation blocks sound moving into or out of it. Viva is sound-treated, not soundproof.
Write down the reflections, equipment noise, and outside sound heard at the planned microphone position.
Room Treatment and Sound Blankets
Use the ten included sound blankets only where the production sound lead finds they help. Run a practical test of each placement before recording.
Before booking, test:
- The untreated room with the planned microphone
- Sound blankets in the proposed positions
- Equipment and set noise during a take
- Outside noise at the planned recording position
Verify every treatment position and mounting method with the studio.
If the production needs more acoustic treatment, add it to the equipment plan and discuss safe placement with the studio before the shoot.
At Viva, ten sound blankets are included in the base studio package. Bring or arrange any additional gobos, baffles, curtains, or other treatment the production requires, and test the placement with the planned microphones.
Test the Microphone Plan
The production sound lead should choose and test microphones for the source, framing, movement, wardrobe, and room.
Document the selected microphone model, placement, mount, and backup.
Run a practical test of microphone placement in the final frame and with the planned movement. Monitor reflections, clothing noise, equipment noise, and outside sound.
Document and review these tests:
- The primary microphone in its planned position
- Any backup microphone required by the production
- Room tone and a complete test take
When using a rental studio, bring or rent the microphones, recorders, mounts, and monitoring equipment the production requires. Double-check the equipment list and room conditions before booking instead of assuming audio gear is included.
Test Noise Before Recording
Listen for HVAC, refrigerators, computers, fixtures, footsteps, and outside traffic with the set and equipment running.
Before the first take:
- Before booking, test the room at the planned microphone position and booking time
- Identify noise that can interrupt a take and leave time for pickups
- Listen for ventilation and other mechanical noise before booking. Double-check any operating restrictions before changing facility systems.
- Keep speakers, subwoofers, and vibrating equipment isolated from microphones when the production sound lead requires it.
Establish quiet-set rules and record room tone after each setup when the editor requires it.
Monitor each take, record room tone, and leave time for pickups when noise interrupts a required line.
Assign one person to monitoring and another to file labels and backups when those roles are separate.
Record the cleanest source available; post-processing cannot restore every sound masked during the take.
Record the Production-Audio Plan
Run a practical test of the complete microphone, monitoring, and room setup before recording the required take.
Write down the required sources, microphones, recording format, monitoring, treatment, crew, room tone, file names, and post-production owner.
Request a Tech Scout
Review the Toronto production studio details, then test the planned microphones and room conditions during a Tech Scout before choosing Viva for dialogue or live audio. Schedule a free Tech Scout.