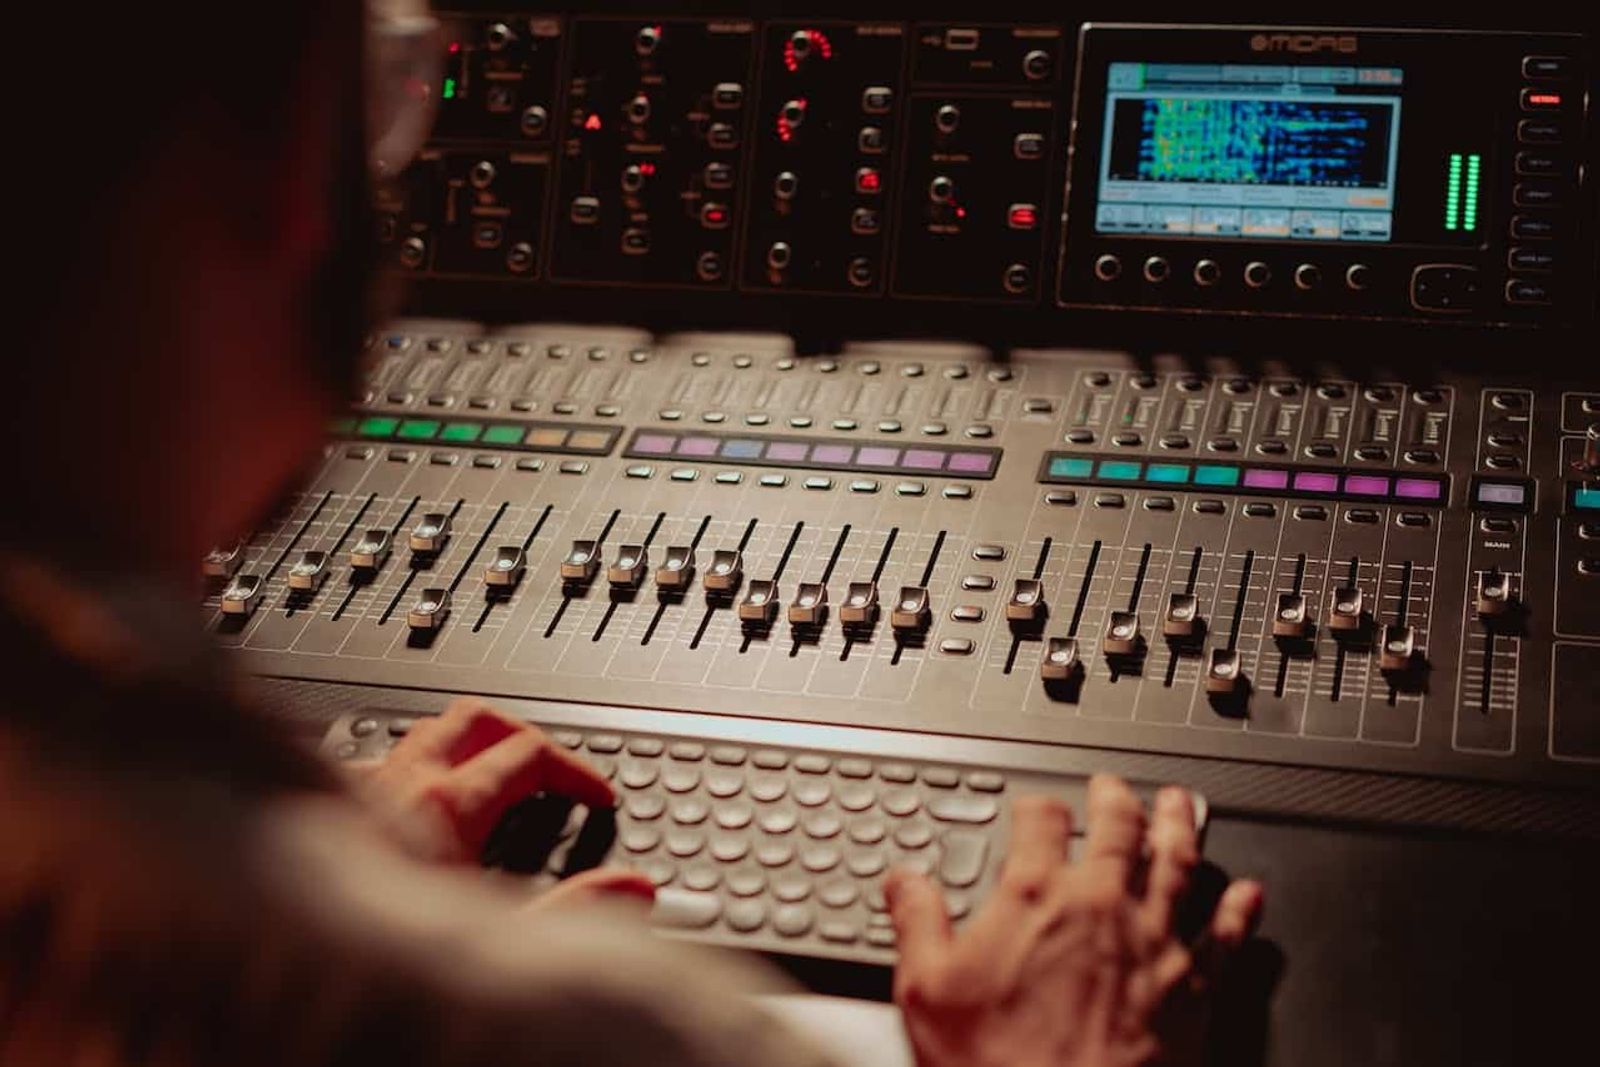
Clean production audio starts with planning. Viva Studio Rentals is a sound-treated film and photography facility, not a recording studio. Audio gear and an audio crew are not included in the base studio package.
This guide covers practical production-audio techniques for filming at Viva Studio Rentals: microphone choice and placement, room checks, monitoring, and post-production.
Use the studio gallery to plan microphone placement and confirm the room during a free 30-minute Tech Scout. Sound treatment helps manage reflections, but it does not guarantee isolation from outside noise.
Audio Recording Techniques for Optimal Sound Quality
Here are practical techniques to consider when recording dialogue or other production audio on the soundstage:
- Microphone positioning: The placement of microphones plays a crucial role in capturing clear and balanced audio. Experiment with different mic angles and distances to find the optimal position for capturing specific sounds or voices. Additionally, using shock mounts can help reduce any handling noise, ensuring cleaner recordings.
- Room acoustics: The acoustics of your recording environment can significantly affect audio quality. Utilize acoustic treatment materials, such as foam panels or bass traps, to minimize unwanted echoes and create a more controlled sound.
- Gain staging: Proper gain staging involves setting the input levels of your audio gear to ensure the best signal-to-noise ratio while avoiding distortion. Start by setting the levels of your preamps, and then adjust the volume of your monitors or headphones to a comfortable listening level.
Essential Audio Equipment for High-Quality Recording
Bring the microphones, interfaces, recorders, headphones, and monitors the production requires. These are not part of the base studio package; confirm separate equipment availability before the shoot.
- Microphones: There are various types of microphones, including dynamic, condenser, and ribbon mics, each with its strengths and weaknesses. Consider your project type and select microphones that best capture the specific sound sources you need.
- Audio interfaces: An audio interface is responsible for converting analog signals into digital audio for recording on your computer. Choose an interface with enough inputs to accommodate your number of audio sources, and consider features such as built-in preamps and monitoring options.
- Headphones and monitors: Accurate monitoring is crucial for making informed decisions during the recording process. Invest in high-quality, closed-back headphones for tracking and a pair of studio monitors for critical listening while mixing.
Capturing Production Audio on a Soundstage
No two audio recording situations are the same, so understanding how to approach different types of audio recording can be beneficial for your project's success.
- Voiceovers and podcasts: When recording voiceovers or podcasts, focus on capturing clear and articulate audio. Use a condenser microphone with a pop filter to minimize plosive sounds and a shock mount to eliminate handling noise.
- Music performance playback and production audio: If a video includes live vocals or instruments, bring the appropriate audio crew and gear, test the room during the Tech Scout, and monitor every take. The facility is not a recording studio.
- Field recording: Capturing audio on location requires portable and versatile equipment. Use a field recorder with built-in microphones or an external microphone setup, and pay attention to environmental factors such as wind, traffic, or other sounds that may interfere with your recording.
Best Practices for Post-Production Audio Editing and Mixing
Transform your raw recordings into polished audio by adhering to best practices during post-production:
- Organization: Keep your audio session organized by labeling tracks, using colour-coded regions, and grouping similar sounds together. This will make your editing and mixing process more efficient.
- Noise reduction: Use noise reduction plugins or audio restoration software to minimize background noise, clicks, and pops in your recordings, ensuring that the focus remains on the primary sound sources.
- Balancing levels: Adjust the volume levels of individual tracks so that they blend cohesively. Use volume automation to make subtle changes in levels throughout the mix, ensuring a balanced and dynamic final product.
- Equalization and compression: Apply EQ and compression to shape the tonal balance of your mix and control the dynamics of your sound sources. Be mindful not to overuse these effects, and remember that subtle adjustments can make a significant difference.
These techniques can help crews capture cleaner dialogue and production sound, but the production remains responsible for its audio crew, equipment, and recording plan.
Planning a film or photography shoot with dialogue? Bring the audio crew and gear the production requires, then contact us to arrange a free 30-minute Tech Scout. The soundstage is sound-treated, not soundproof.