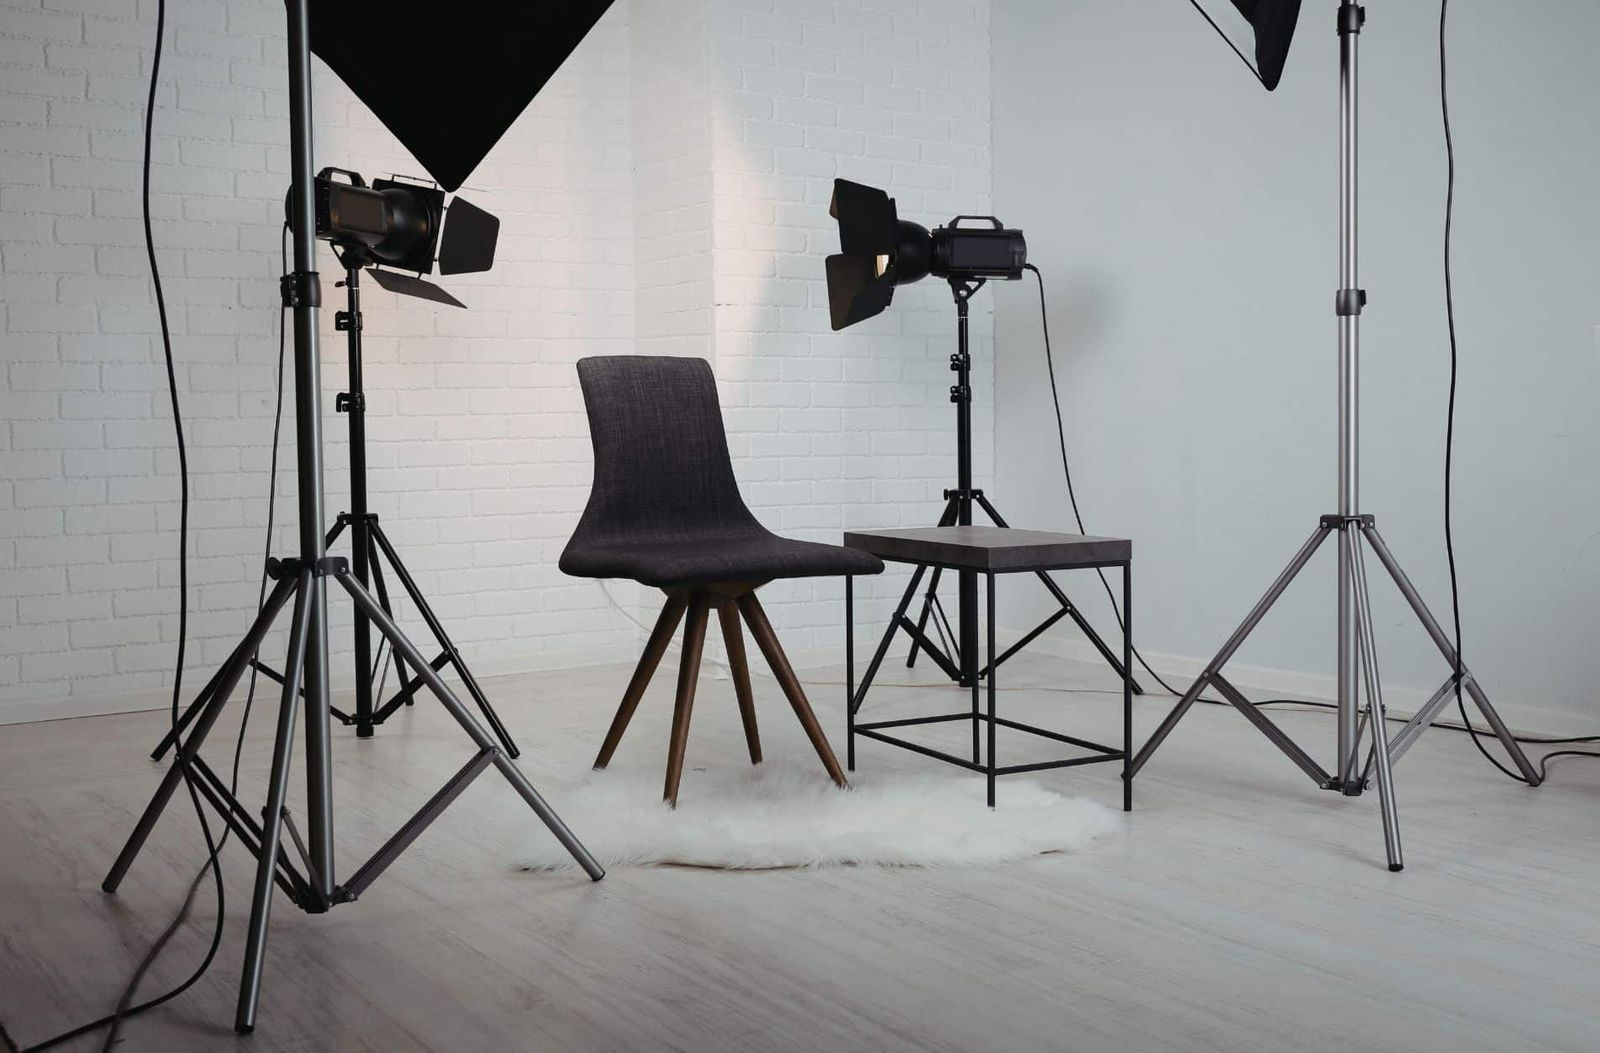
A photography studio should fit the shot list, crew, equipment, lighting plan, and movement between setups.
Before booking a Toronto photography studio rental, compare the room, lighting, load-in, sound conditions, support areas, and included equipment with the shoot plan.
Location and Load-In Access
Review the loading route, door sizes, parking, and the distance from the vehicle to the shooting area before booking.
- Before booking, confirm how the production will use the on-site parking and loading dock.
- Map the route from the 4 ft truck-height loading dock and 8 × 10 ft door to the stage. Verify that every case, cart, and set piece fits the route.
- Double-check the booked access window, loading sequence, parking plan, and who is responsible for moving equipment.
Verify parking, door dimensions, dock access, and the load-in route before setting the call time.
Lighting and Technical Plan
Decide whether the shoot will use window light, artificial light, or both, then test the planned setup.
- If the plan uses window light, inspect its direction and level near the intended booking time.
- Ask whether a lighting grid is installed and which stands, mounts, or rigging points may be used.
- Map fixture positions, cable routes, and power requirements, then review the technical plan with the studio manager.
Document the tested window-light position and prepare an artificial-light option when matching matters.
Viva Studio Rentals provides a 2,000 sq ft stage, a 25 × 25 ft pre-lit white cyc, four Aputure Nova P300c lights, six C-Stands, and ten sound blankets. Additional lighting and grip are available separately through Viva Camera at the fixed 25% studio-client discount.
Backdrops, Surfaces, and Props
Review the furniture, paintwork, floors, and other surfaces that may appear in frame. Double-check their current condition instead of relying only on listing photos.
- Verify which backdrops are available, their dimensions, and current condition.
- Inspect the shooting floor and every surface that will appear in frame.
- Review walls, windows, trim, tables, and other visible surfaces against the approved frame.
Double-check the table, backdrop, mounting, and prop requirements. Bring any item that the studio does not confirm as included.
Apple boxes, tables, and chairs are included in the base studio package. If the shoot needs seamless paper, another backdrop, props, or specific furniture, plan to bring or source those items separately.
Room Conditions and Production Audio
Assess room conditions and production audio before booking instead of assuming a temperature or noise level.
- Double-check room conditions before booking. Do not assume adjustable heating or airflow.
- Listen for HVAC, traffic, equipment, and other noise while testing the planned microphones.
- Ten sound blankets are included. Before booking, test their proposed positions; the room is sound-treated, not soundproof.
Record a complete test take with the planned microphones and production equipment running.
Support Rooms for Crew and Talent
Designate areas for wardrobe changes, touch-ups, breaks, equipment, and people waiting to go on camera.
- Make sure there is a separate area for hair, makeup, wardrobe and changing.
- Verify washroom access and its location before the call sheet is issued.
- Designate a table or support room for breaks, meals, and items kept off set.
Keep waiting, meals, wardrobe, and equipment storage out of the shooting area.
Check the Facility Against the Shoot
Use a Tech Scout to confirm the load-in route, lighting, sound conditions, backgrounds, support rooms, and equipment before the shoot.
Write down the load-in, lighting, sound, support-room, equipment, and booking checks before deciding.
During a free Tech Scout, check whether the room, loading route, sound limits, and booked window fit the photography plan. Schedule a free Tech Scout.