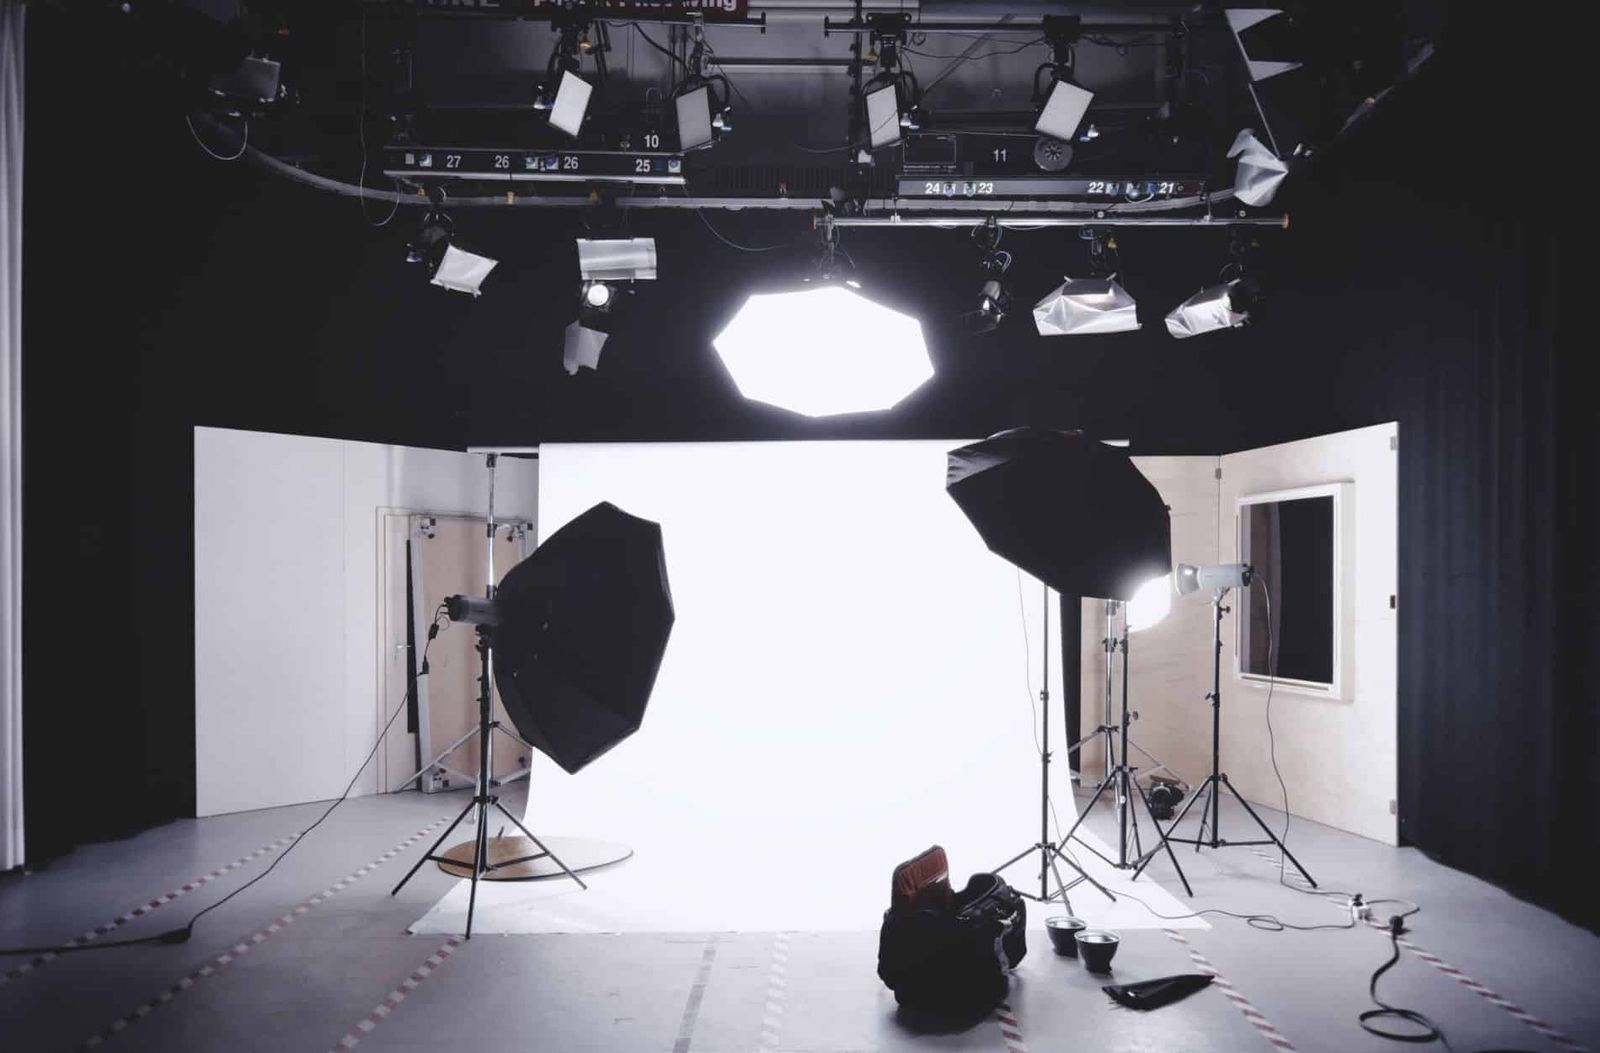
Better studio lighting starts with control, not with adding more fixtures. A repeatable setup helps keep exposure, colour, and contrast consistent across a portrait series, product catalogue, or campaign shoot.
Start with the photograph you need: clean product detail, soft skin, a hard shadow, or clear separation from the background. That decision determines the size, direction, distance, and colour of each light.
Test one light at a time. Record fixture positions, output, camera settings, and subject marks so the setup can be rebuilt after a lens, wardrobe, or set change.
Build the Setup One Light at a Time
Place the key light first and take a test frame. Its height and angle define the main shadow pattern. Its apparent size affects how hard or soft the shadow edge appears.
Add fill only if the shadows need to open. Then use a rim light, background light, flag, or negative fill if the subject needs more separation. Check highlights and spill before adding another fixture.
Five Studio Lighting Setups to Test
These setups are starting points. Adjust them for skin tone, surface finish, wardrobe, lens choice, and the required background.
- Large soft key: Place a diffused source near the subject and slightly above eye level. This creates broad shadow transitions for portraits. With reflective products, adjust the source while watching the highlight shape.
- Clamshell lighting: Place a soft key above and in front of the subject, then add a reflector or low fill below. This reduces deep eye and chin shadows for headshots and beauty work.
- Side light with negative fill: Move the key to one side and place a black flag or fabric on the other. This deepens the unlit side and shows form in portraits, clothing, and textured products.
- Hard key with a controlled shadow: Use a smaller source or less diffusion for a defined shadow edge. Set the distance between the subject and background so the shadow lands where the composition needs it.
- Backlight or silhouette: Place a source behind the subject and keep it out of the lens. Expose for the background to make a silhouette, or add a low front fill to retain some detail.
Change one variable at a time, then compare the frames. Keep the useful tests with the lighting diagram so the same look can be repeated later.
Use the Stage, Cyc, and Included Lights
Viva Studio Rentals has a 45 × 40 ft stage floor, a 25 × 25 ft pre-lit white cyc, and a lighting grid at 13.5 ft. The base studio rate includes four Aputure Nova P300c lights and six C-Stands.
Cameras, lenses, and additional or specialty lighting and grip are available à la carte through Viva Camera and billed separately. Studio clients receive a fixed 25% discount.
Plan the Lighting During a Tech Scout
Use the free 30-minute Tech Scout to mark camera and subject positions, check working distances, plan light and stand positions, map load-in, and review technical requirements. Bring the photographer, producer, digital tech, or gaffer who needs to approve the room.
Each booking gives one production full and undivided use of the 4,500 sq ft facility during the booked window. Direct access to a studio and equipment manager is included. Confirm any additional equipment before the shoot day.
Studio Lighting Checklist
Before the shoot, confirm the shot list, lighting diagram, camera and lens tests, colour settings, modifiers, stands, flags, cables, safety equipment, subject marks, backup plan, and reset time between looks. Photograph the final setup and save the exposure and white-balance notes.
Read about the studio and included package at Viva Studio Rentals, then compare additional equipment options before booking a Tech Scout.