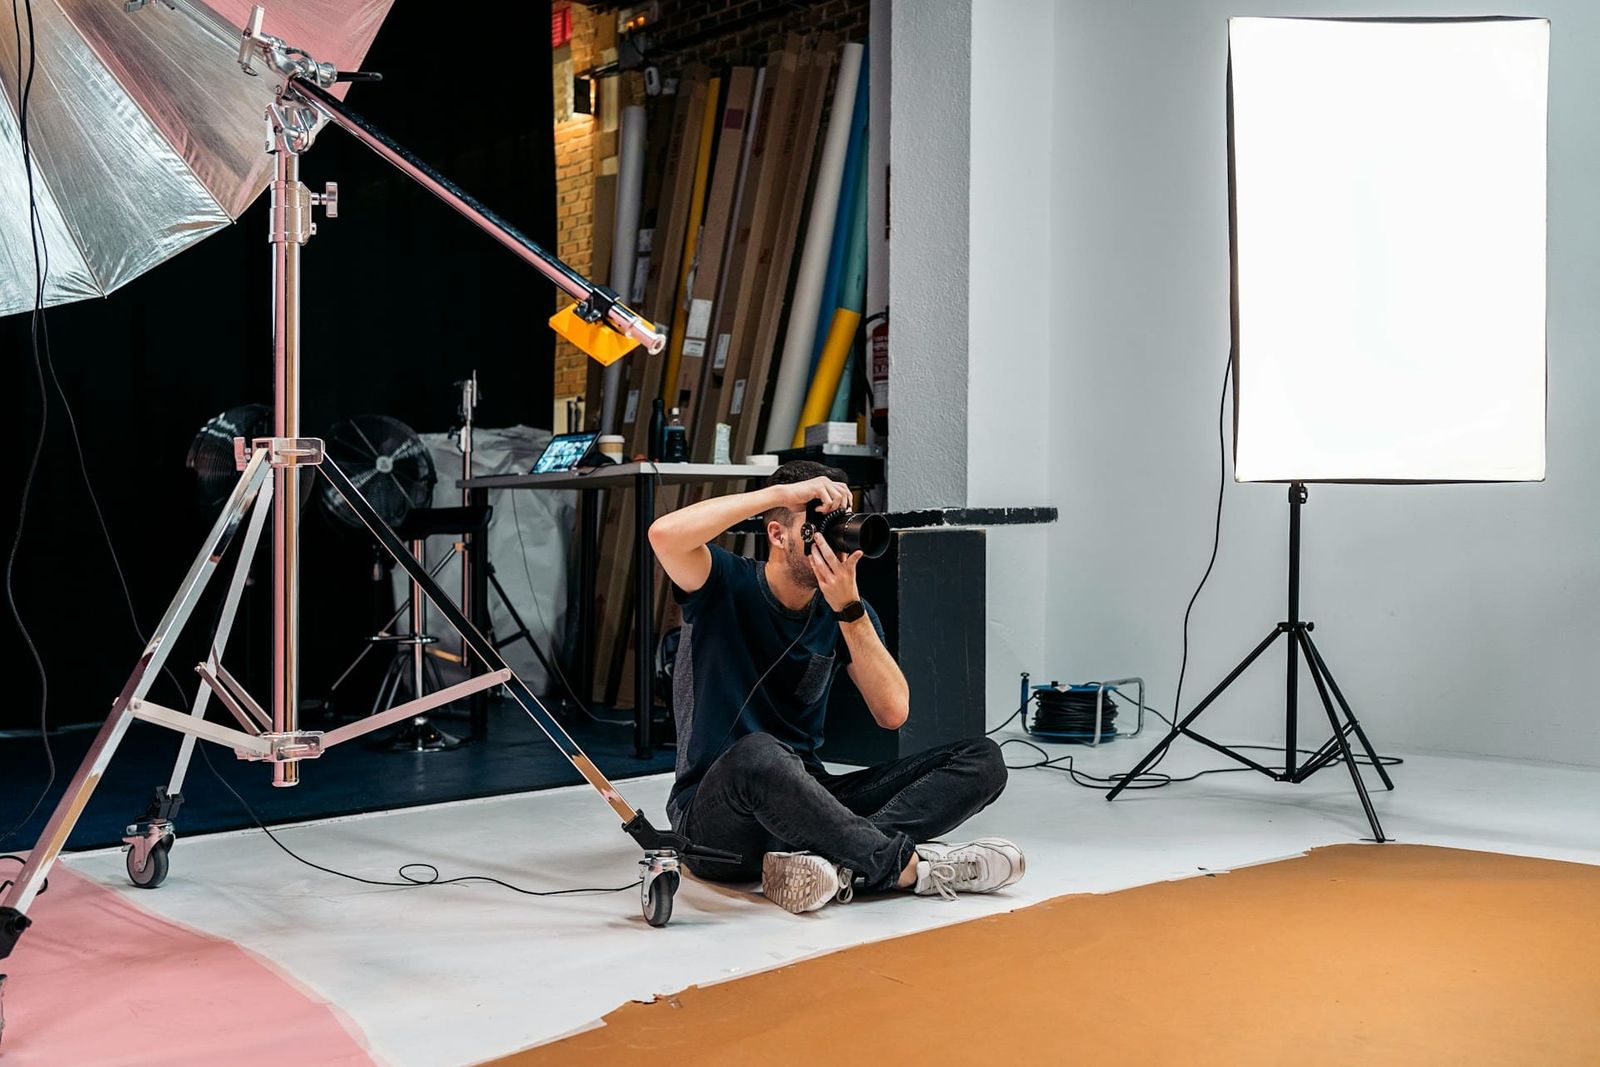
If the shoot uses window light, check its direction and timing and prepare an artificial-light option.
Check subject placement, modifiers, mixed colour temperatures, exposure, backup fixtures, and room fit before booking.
Test Window Light
Inspect window light near the intended booking time and record how it affects the planned frame.
Review the following:
- Select the call time from the tested daylight and artificial-light plan, not a general assumption about morning sun.
- Run a practical test of window-dependent subject positions before booking and record the approved camera angle.
- Before booking, test production-supplied bounce, negative fill, and diffusion with the planned subject and background.
- Use only diffusion materials and modifiers designed for the fixture. Follow the manufacturer’s clearance and heat instructions, and confirm any overhead or attached material with the studio.
Before booking, test subject position, source distance, modifier placement, exposure, and contrast, then set the camera angle from the approved result.
Check Shadows and Colour Spill
Coloured walls, reflective floors, and set pieces can introduce shadows or colour spill. Double-check test frames before the first setup is approved.
Use these checks when unwanted shadows or colour spill appear:
- Before booking, test source size, distance, angle, and modifier placement against the approved reference.
- Review coloured surfaces for spill on skin, wardrobe, and products before approving the frame.
- Use only rated modifiers installed according to the manufacturer’s instructions and the studio’s approval.
- Add fill only after the key light, background, exposure, and contrast have been tested together.
Bring bounce cards, diffusion, and any soft-light tools the plan requires. Additional lighting and grip are available separately through Viva Camera at the fixed 25% studio-client discount; confirm the equipment list before the shoot.
Balancing Mixed Light Sources
Mixed fixture types can produce different colour temperatures and spectral response. Test all active fixtures together before booking.
Keep a record of the fixture and white-balance settings:
- Write down every active fixture, colour setting, modifier, and output level used in the setup.
- Do not cover a fixture with ordinary fabric. Use a rated softbox, diffusion frame, or other approved modifier with the required heat clearance.
- Establish and record white balance according to the camera and colour workflow.
- Capture a test frame after any fixture, modifier, camera, subject, or background change.
Use the recorded lighting and white-balance values as the starting point for colour correction in post-production.
Prepare for Changing Daylight
Prepare an artificial-light option and schedule time to switch when window light changes.
Allow for changing daylight:
- Before booking, confirm the ceiling height, grid height, power requirements, approved rigging method, and equipment plan.
- Treat window light as a variable and keep an artificial-light option in the plan.
- Write down the backup fixtures and modifiers required by the shot plan.
- Designate the person who can approve a lighting change and the time allowed for the reset.
When daylight changes, pause to check exposure, contrast, and white balance before continuing; matching still depends on the full lighting and camera plan.
Confirm Stage and Grid Fit
At Viva Studio Rentals, confirm that the stage dimensions, grid, technical requirements, and available equipment fit the lighting plan. Inspect and test those details before booking.
Before booking, confirm:
- Compare the 18 ft ceiling and 13.5 ft grid with the lighting plan.
- Confirm the approved rigging method for each planned fixture position.
- Send the complete lighting and equipment list before the Tech Scout so the studio manager can review the technical requirements.
- Bring or arrange any movable walls, dividers, flags, or negative-fill materials the production requires.
After the Tech Scout, send the approved fixture list, rigging method, camera angles, and layout to the crew.
Assign setup, test, approval, and reset time for each lighting change.
Review and Record the Lighting Setup
Before each setup, test exposure, white balance, angle, and contrast, then record the approved settings.
Write down fixture positions, settings, camera exposure, and white balance, then compare test frames throughout the shoot.
Test the planned fixtures, modifiers, camera settings, subject positions, and background before the photography booking. Review the photography studio.