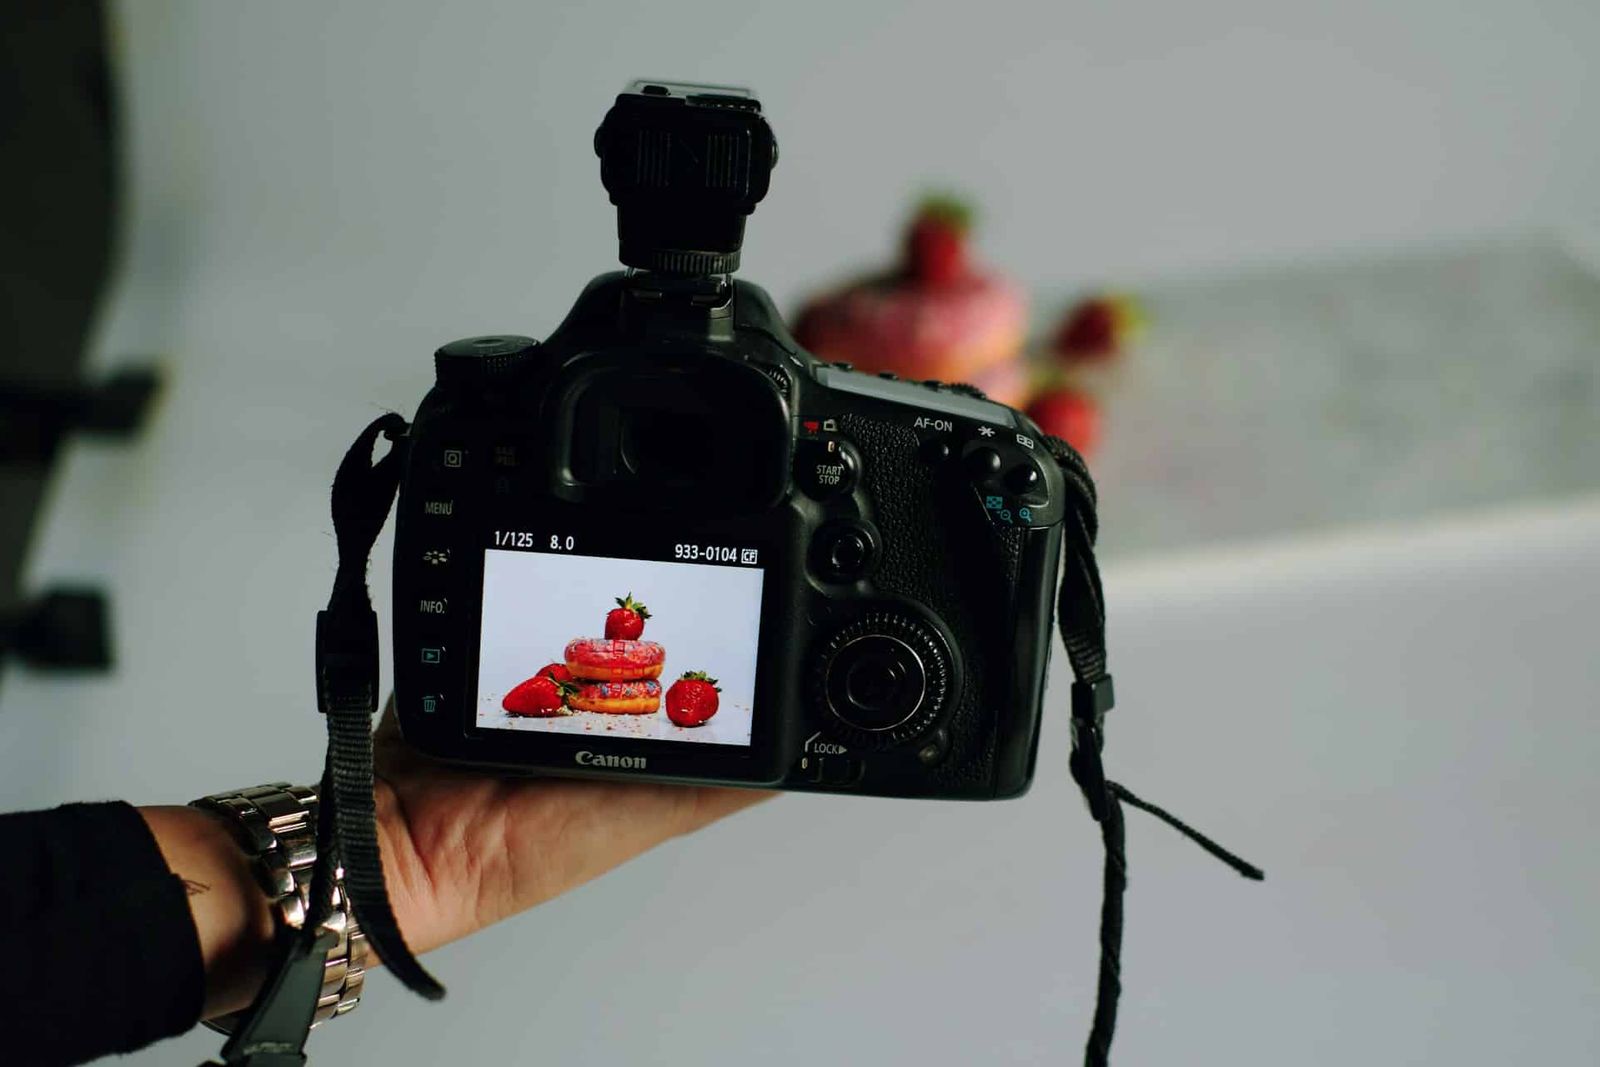
Brand-photo planning starts with the required uses, shot list, subjects, products, backgrounds, wardrobe, props, lighting, and production roles.
The production still needs an approved shot list, crew, lighting, backgrounds, products, wardrobe, props, approvals, and post-production plan.
Match the Studio to the Brand References
Define the visual references, required backgrounds, lighting, framing, products, and people before comparing studios.
- Start with the lighting plan. Decide whether the brand needs shadow and contrast or a softer look, then confirm the natural and additional lighting available for the booking.
- Double-check the colour of every surface that may reflect onto products, clothing, or skin. Double-check current wall and floor conditions before choosing the palette.
- Select the background style from the brief: minimal, industrial, textured, furnished, or another planned look. The production must bring or rent any props, furniture, or backdrops that are not confirmed as included.
Select the space by checking whether its surfaces, lighting, dimensions, and equipment fit the approved brand references.
Viva Studio Rentals books one production per day, giving that production full and undivided use of the 4,500 sq ft facility during the booked window. It includes a 2,000 sq ft soundstage, a 25 × 25 ft pre-lit white cyc, a client lounge, a 200 sq ft green room, a 200 sq ft hair and makeup room, and 1,000 sq ft of flex space. The base studio package includes four Aputure Nova P300c lights, six C-Stands, ten sound blankets, apple boxes, tables, and chairs.
Build the Brand-Photo Shot List
Prepare and prioritize the shot list before booking so the schedule can be built from the required deliverables.
- Write down what the shoot must show, such as products, services, team portraits, or behind-the-scenes work.
- Document each required use, such as social posts, web banners, and ads, then add the corresponding crops and orientations to the shot list.
- Write down the required framing for each use: wide and close shots, vertical frames for Stories and Reels, horizontal web headers, and print sizes.
Use the shot priorities, setup times, approvals, and booked window to pace the session.
What to Bring into the Studio
Use one packing list tied to the approved shot list and setup order.
- Products and props: pack every approved product, package, prop, tool, and backup item.
- Wardrobe: label approved options by subject and setup, then check each colour against the background and lighting plan.
- Consumables: pack wipes, lint rollers, clips, chargers, and other supplies required by the shot plan.
- Studio equipment: confirm the included base package, then bring or arrange every additional item separately.
A checked packing list identifies what the production must bring, rent, or confirm before load-in.
Assign the Photographer, Crew, and Approver
Designate the photographer, crew roles, and approval owner from the required subjects and deliverables.
- Match the photographer’s portfolio to the planned product, portrait, service, or environmental images.
- Issue a schedule with the priority shots, setup order, breaks, wardrobe changes, pickups, and wrap.
- Review crop, focus, exposure, colour, styling, and background before clearing each setup.
Name the person who can approve changes to the shot list, styling, and schedule.
Build the Brand-Photo Delivery Schedule
Establish the target delivery date and the dates when each image format will be used.
- If daylight is required, inspect it near the intended booking time and test it with the planned wardrobe, products, and camera settings.
- Establish the production date from the launch schedule, crew availability, studio availability, and post-production time.
- Verify room conditions, included equipment, and any additional lighting requirements before booking.
Designate owners and deadlines for selection, editing, approvals, delivery, and publishing.
Verify that cases, products, props, and optional equipment fit the 4 ft truck-height dock and 8 × 10 ft door. Additional cameras, lenses, lighting, and grip are billed separately through Viva Camera at the fixed 25% studio-client discount.
Confirm the Studio Booking
Plan the shot list, backgrounds, wardrobe, and final crops before the session. Review the photography studio details and request a Tech Scout to confirm the space and equipment plan.
Document the selected images, crop requirements, retouching notes, approvals, delivery files, and publishing dates.
Finish the brand-photo shot list, product list, equipment plan, and booking window before contacting Viva. Review rates and booking options.