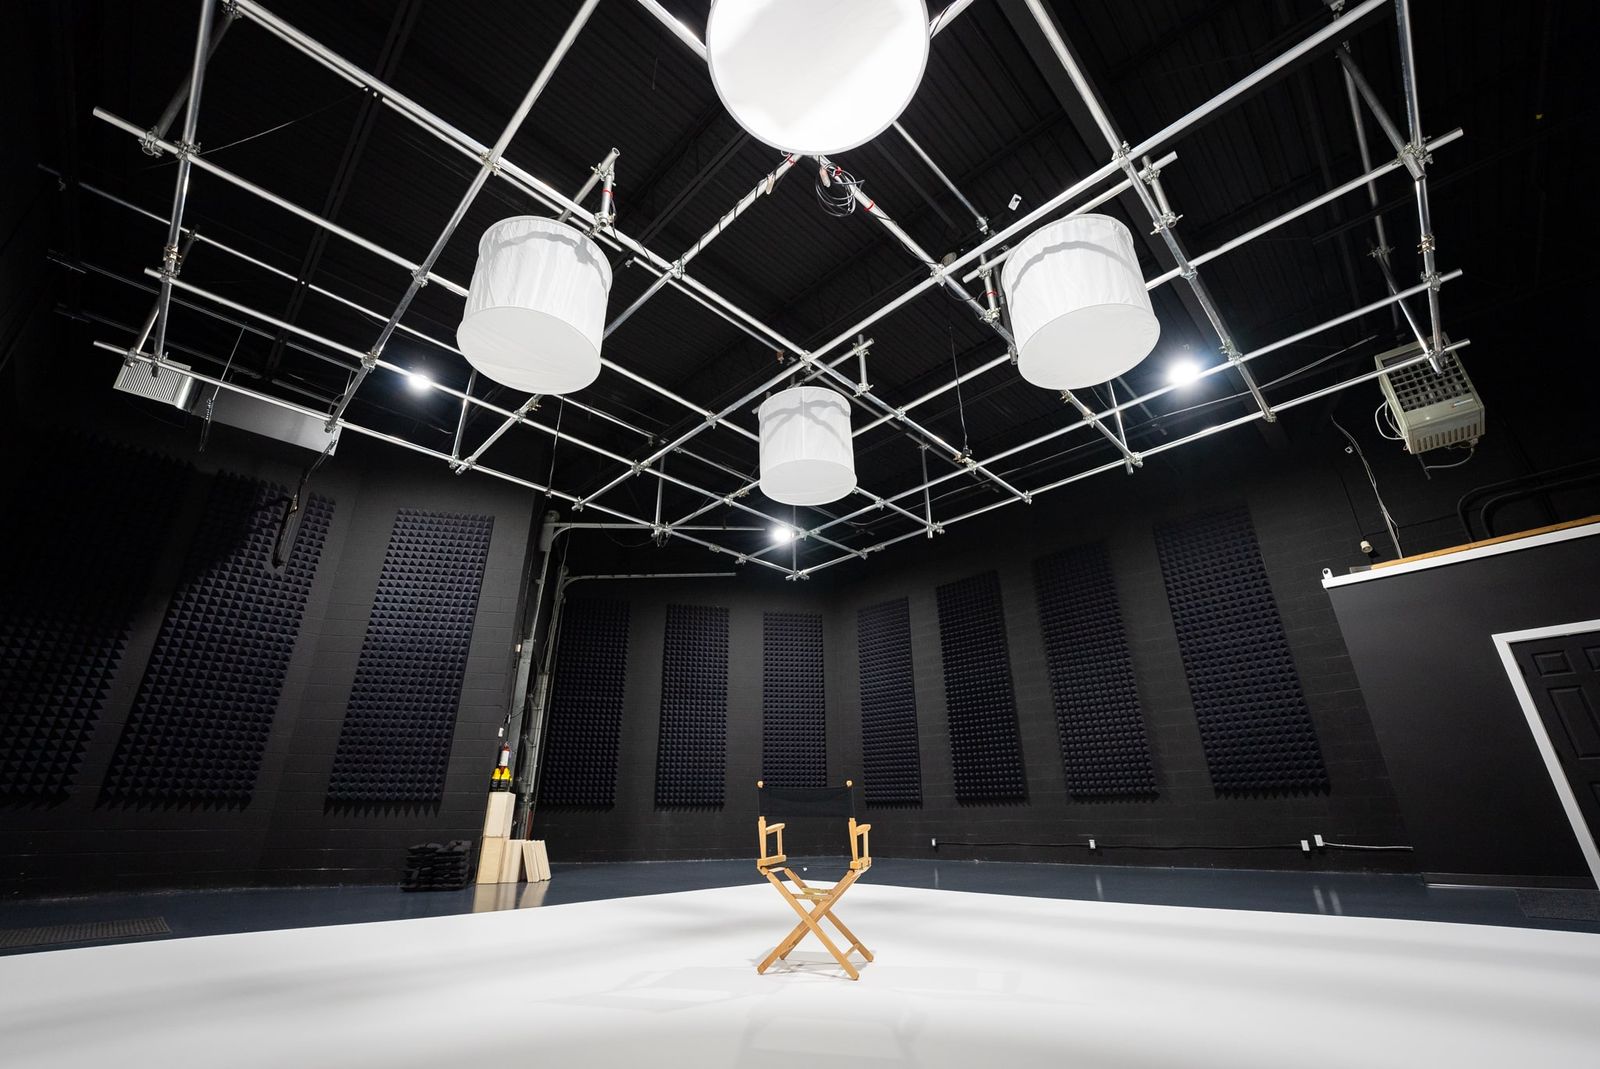
Viva is a visual production studio with a sound-treated stage. It is not soundproof and is not a recording studio. Bring the required audio crew and equipment, then test the planned microphones in the room.
This commercial-audio workflow covers room testing, microphone selection, monitoring, room tone, file handling, editing, mixing, and delivery at Viva Studio Rentals. The production remains responsible for its audio crew, recording package, and post-production.
The base studio rental does not include a recording package or in-house audio specialist. Double-check optional equipment and technical requirements separately.
Set the Commercial Audio Requirements
Write down the required sources, microphones, recorders, monitoring, crew, treatment, schedule, file handoff, and post-production work before the studio day.
- Define the sound requirements: list the dialogue, voiceover, music, effects, room tone, playback, and other audio the production must capture or create.
- Use a Tech Scout to listen to the stage, identify background and equipment noise, test planned microphone positions, and record room tone.
- Select a microphone that suits the source, pickup pattern, sensitivity, and room conditions. Bring or rent the audio equipment separately, and have the production-audio lead test the setup before booking.
Record and Monitor the Required Sources
Use these recording practices during the studio day:
- Have the production sound lead place and test each microphone for the source, framing, movement, wardrobe, and room.
- Test for outside noise, equipment noise and room reflections with the planned microphones. Schedule quieter takes when the production plan requires them.
- Monitor audio levels with headphones during each take. Establish gain with enough headroom to avoid clipping and check the recording rather than relying only on the meter.
Post-Production Audio Handoff
Editing and mixing are separate post-production steps. Use them to select takes, remove distractions where possible, balance sources, and prepare the audio for delivery.
- Edit unwanted noise and unusable takes first. Apply noise reduction only after checking that it does not damage speech.
- Balance the mix so dialogue, voiceover, music, and effects remain clear. Use level, panning, equalization, compression, and automation only as the material requires.
- Use EQ to address specific frequency problems. Compare the processed track with the source before committing the change.
- Select sound effects and music that serve the message without covering dialogue or drawing attention away from the subject.
Delivery Specifications and Final Export
Prepare the final mix for the required delivery platforms, file formats, levels, and technical specifications.
- Set final levels and dynamics to the delivery specification. Review peaks, loudness, and distortion on the complete mix.
- Use equalization and stereo placement only where they improve clarity or meet the delivery plan. Double-check the mix on more than one playback system.
- Export the final mix: deliver the audio in the formats and loudness specifications required by the campaign’s distribution channels. Post-production and final audio export are not part of the studio rental.
Commercial Audio Checklist
Before the shoot, confirm the required sources, audio crew, recording equipment, room test, monitoring, file names, post-production owner, and delivery specifications.
Assign the production sound recordist, equipment, room-tone plan, and backup recording before the commercial shoot. Review the Toronto studio rental.